Observing at the Mill Pond, warm, clear, unfortunate number of mosquitoes. Spent some time on Saturn and digging around in the glare for M71.

September 1, 2015, Maynard, MA, Celestron 130 SLT.
Observing at the Mill Pond, warm, clear, unfortunate number of mosquitoes. Spent some time on Saturn and digging around in the glare for M71.
September 1, 2015, Maynard, MA, Celestron 130 SLT.

The solar filter covers the business end of the optical tube. Small bit of foam attached to the inside of the aluminum casing guarantee a snug fit. Photo: JR
DO NOT LOOK AT THE SUN WITHOUT PROPER EYE PROTECTION.
Before my last trip to India, I wasn’t much interested in solar observing. I enjoyed observing the Transit of Venus, considered getting a white-light solar filter my scope or investing in an h-alpha system, but never got around to doing either one. But being immersed in the history and ephemera of astrophysics and solar science at the Indian Institute of Astrophysics shifted something inside me. One of the first things I did after I returned to the U.S. was order an inexpensive filter for my small scope (130-mm reflector). I briefly considered ordering mylar sheets and building my own, but decided that I didn’t feel crafty enough to get the job done. I’m happy about that decision — the aluminum outer cell on my ready-made filter is much better (sturdier) than anything I could’ve put together myself.
It should go without saying, but never look through your telescope without a properly installed filter. The first thing I do when I go out, even before putting the optical tube on the tripod, is mount the solar filter. And I’ve made it a habit to double check the filter fit before I take my first look through an eyepiece in solar sessions.

Here, the optical tube and spotting tool are casting nice, circular shadows. This tells me that my scope is lined up well with the Sun. Photo: JR
I was pretty excited to get out there the day the filter arrived, but spent the first ten minutes in frustration. You’d think that it would be super easy to spot the Sun in a telescope. It’s a huge star, how hard could be it be? The answer to that question is: pretty hard. Don’t waste time chasing around the sky looking for the Sun. Look for its shadow instead. Use your controller or your hands to line your scope up with the Sun in such a way that it casts a perfect circle shadow. The sharper the circle, the closer the Sun will to the center of your field of view.
I eventually attached a spotting tool to my optical tube with velcro. It’s kind of handy, and helps me double-check my shadow circle. Now that it’s aligned properly (it came with alignment tools), I can just glance at it to check my alignment. Because looking at my shadow takes too much work, apparently.
The other thing that’s a must for starting your solar session is an eyepiece with a wide field of view and low magnification — the widest and lowest you’ve got. When you look at the sky through a solar filter, all you see is black. The Sun isn’t surrounded with a blazing light, so you can’t just scan until you see a glow (thus, initial alignment matters). It really helps to start with a wide field of view, just in case your alignment is a bit off. You can catch a corner of the Sun and move your scope gently to center it (and then adjust your spotting tool for next time).
I start out using a 32-mm plössl with a 52° apparent field of view (2.6° true field of view). This gives me a nice black field with a yellow orb near the center. Once I have the Sun completely centered, I work my way up through my eyepieces. I find with a 130-mm reflector, the best view of sunspots comes when I finally reach my 8-mm plössl (52° APOV, 1.2° TFOV). But I usually spend time with the 13-mm and 9-mm eyepieces as well.
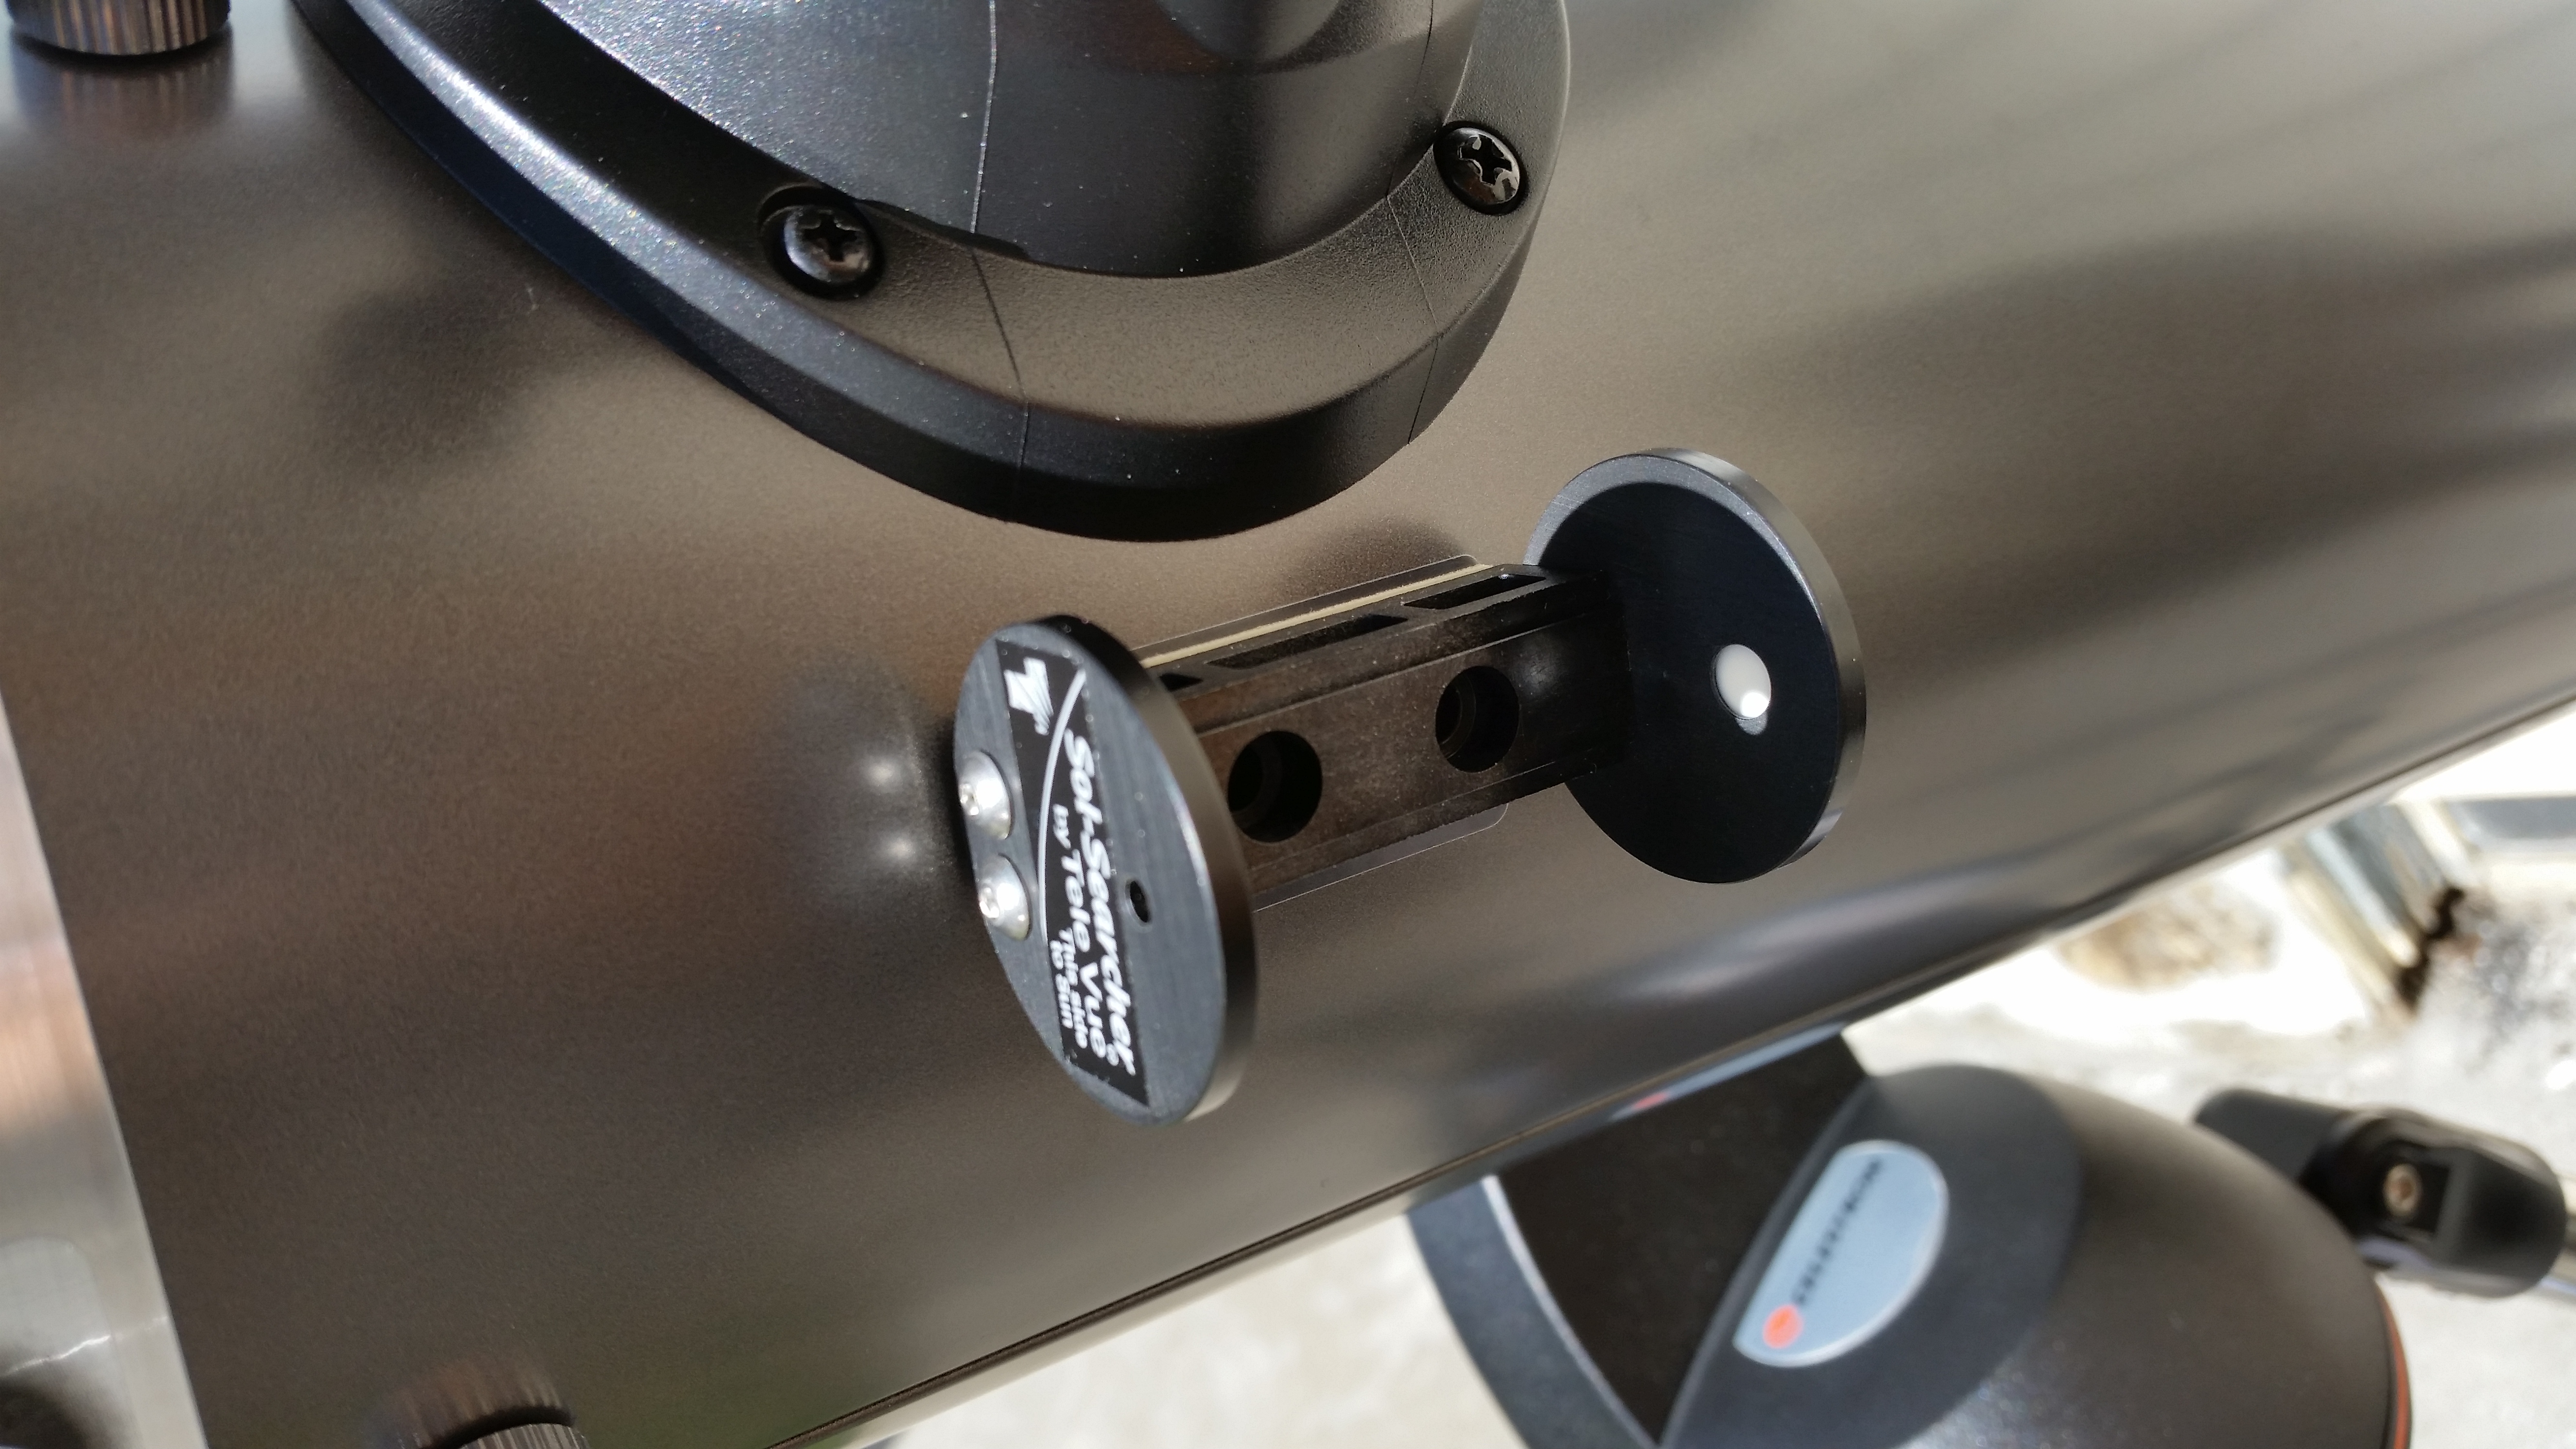
The front panel of the Sol Search casts a shadow on the back. When my telescope is aligned with the Sun, the bright dot (the Sun shining through a hole in the front panel) is centered on the white circle on the back panel. Photo: JR
I can’t tell you what the best filter solution is for you, since it depends on what you want to see. My white-light system works well for me because I’m most interested in sunspots right now. But if you’re after limb activity and flares, you’re going to have to cough up some serious money for an h-alpha set up. At any rate, follow the manufacturer’s instructions for installing your filter/setting up your scope, lest you blind yourself. Don’t ever use a filter that goes on an eyepiece instead of the end of the optical tube. The tube filter prevents heat buildup — who knows what all that direct sunlight is doing to an eyepiece filter?
Even though most of the Sun is screened from your scope, setting up in full sunlight can lead to a miserable day. If you can find a partly shaded spot, you’ll thank yourself later. I also throw a dark shirt over my head to block the daylight from the eyepiece. Yeah, I look silly (I observe next to my house, which is next to a parking lot for a very busy convenience store, and you know everyone is talking about the idiot with a shirt over her head), but it really improves the view. Hooded observing shirts are available commercially, but they’re generally designed for cooler temperatures, not the bright of day.

Consider keeping an observing log. You can write down as much or as little detail as you want. I like to record my eyepieces and the number of sunspots I see. I find that just a few notes help me remember the session. Photo: JR
If you get serious about observing sunspots, consider joining the Astronomical League’s Sun Spotter’s Program. The AL is a beginner friendly organization, and with its guidance, you’ll soon be recording sunspots like a pro. If you’re more interested in prominences, flares, and other limb activity, check out the Astronomical League’s Hydrogen Alpha Solar Observing Program. Either way, feel free to contact me if you have any questions about getting started in solar observing.

Comet Lovejoy from front walk/back door. Image: JR
I was never much of a binocular observer, even though I loved using binoculars in the daytime when I was a kid. I jumped from naked-eye observing straight to a 10-inch reflector as a teenager. Since starting at S&T, I’ve been “backtracking,” trying to view all those things people start with in binos. It gives me something to do when I have just a small patch of sky or time. I’m getting closer to knocking off the Astronomical League’s Bino Messier list, anyway.

November 15, 2014, Maynard, MA, M34. Image: JR

The Pleiades. Image: JR

56 Andromedae. Hanging out in parking lot of mill pond. Image: JR
The local astronomy club had telescopes set up at Lake Monroe for public use during the event, but I made my own viewer with a pair of binoculars, cereal box, piece of abandoned foam core, and temporary prop. I got some fantastic projected images despite the fact my sunshield said “Cheerios” on one side.

Monroe Lake State Park progam.
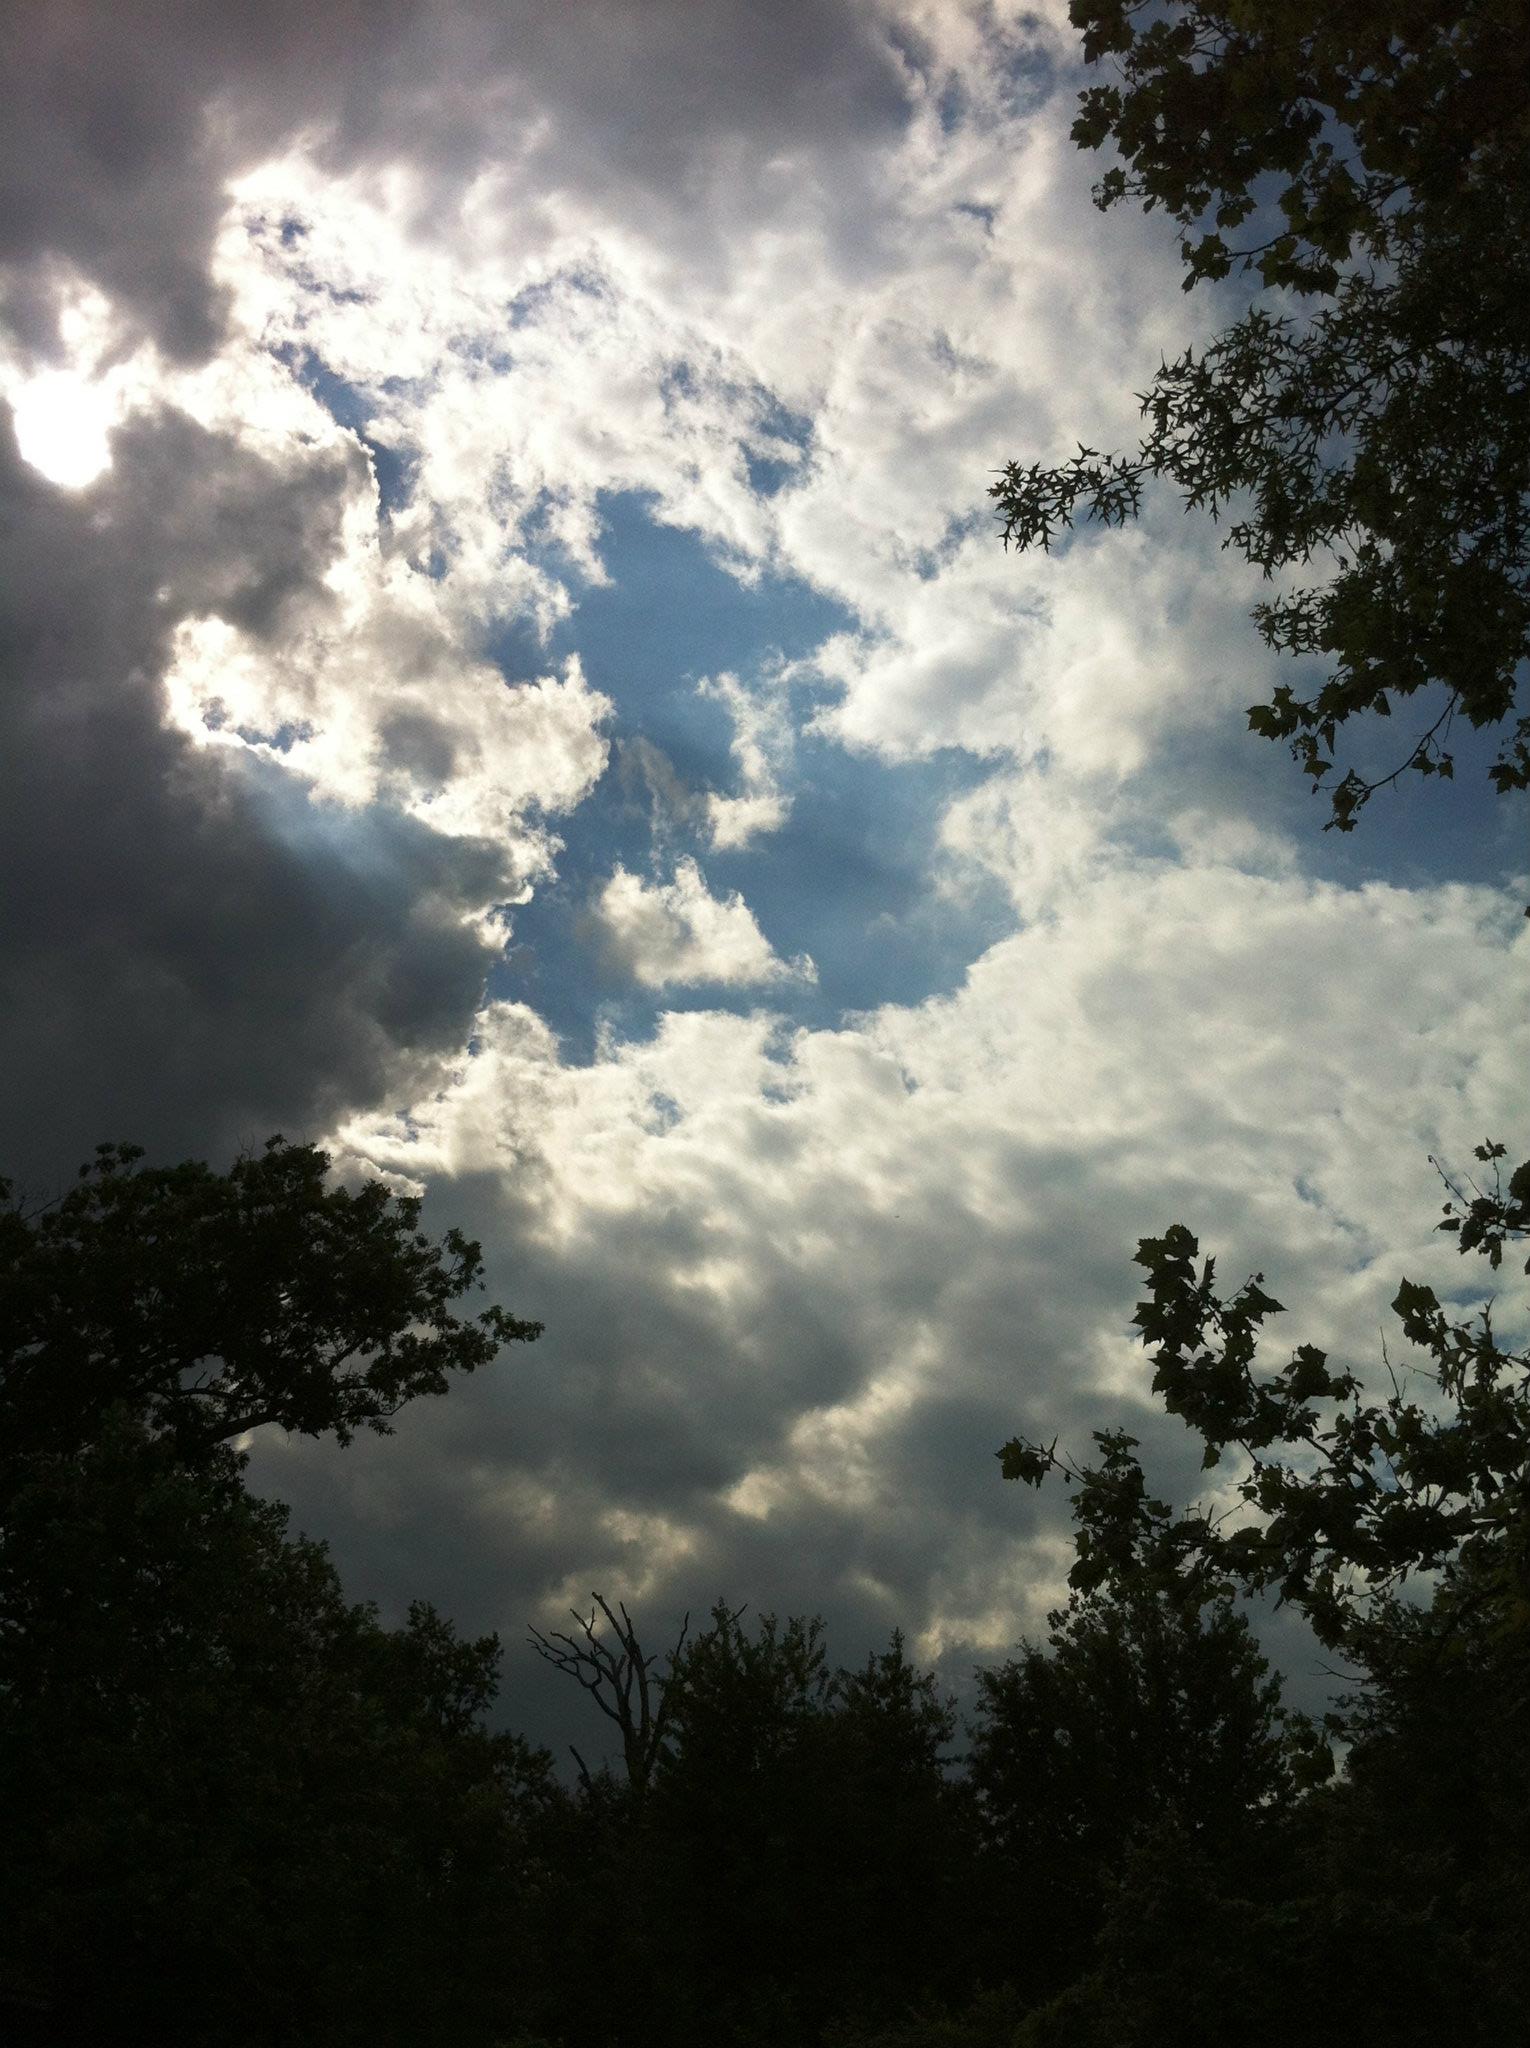
Fought the clouds for much of the day.

Make a sunshield from a cereal box. Cap one side of the binoculars.
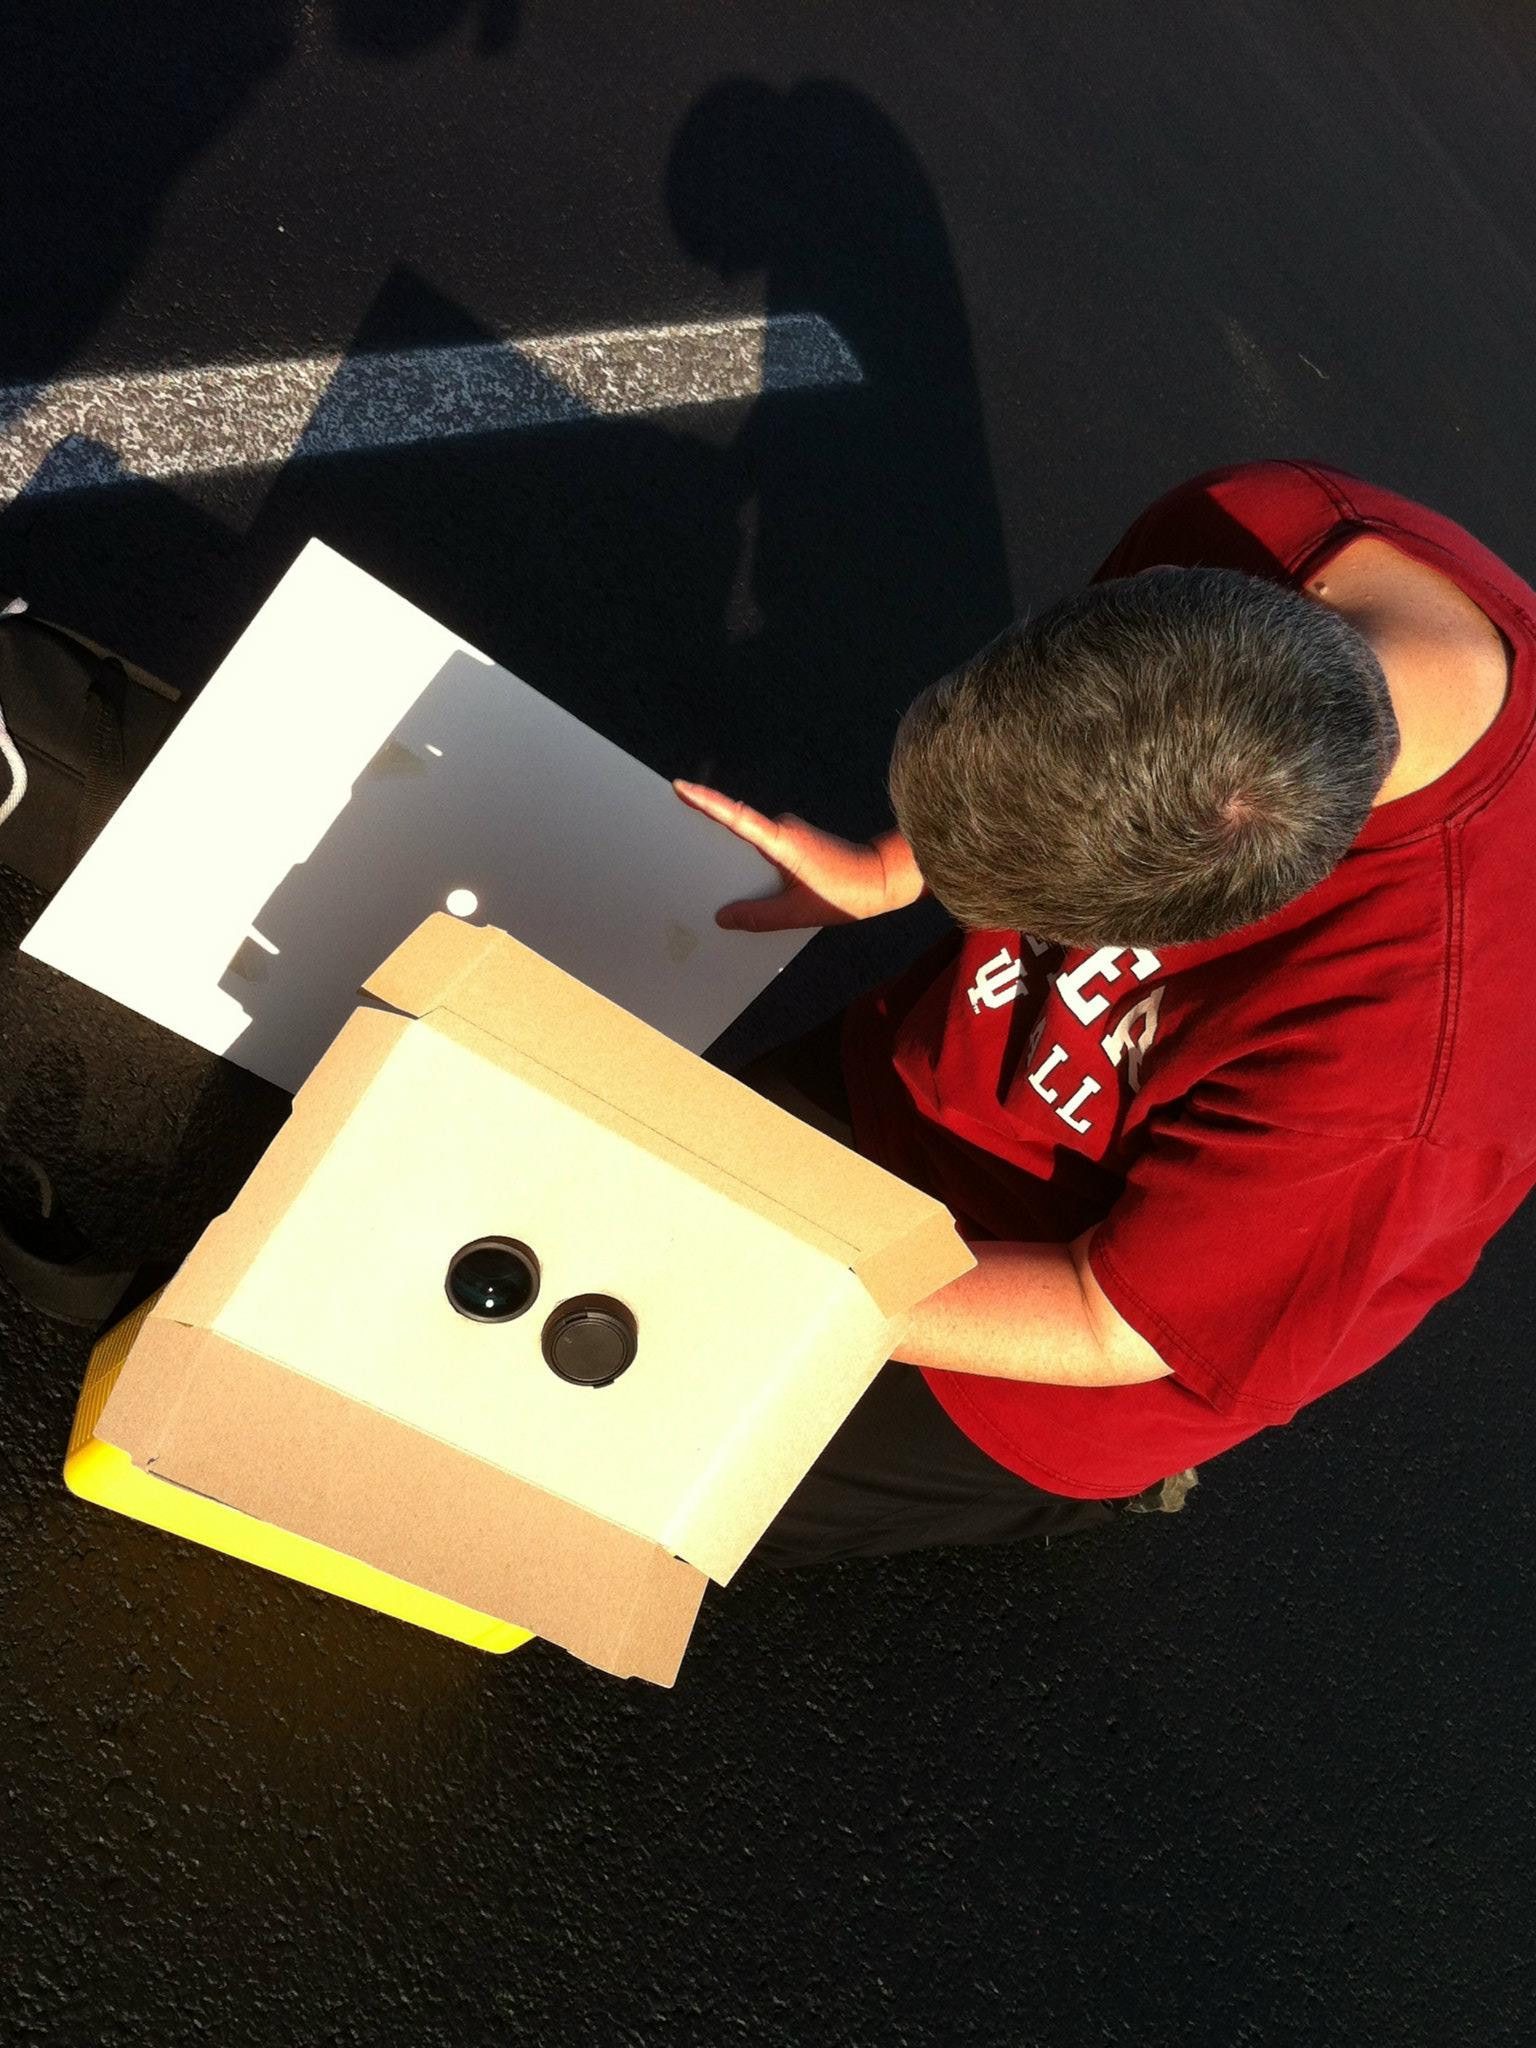
Testing the projection.

Image projected on foam core.

Demonstrating proper use of eye protection.

Spend the buck for shades.